In the Vintage and supplies section of my Etsy shop I sell embroidery hangers I find at flea markets. I especially look for hand made, wrought iron hangers in the Scandinavian klokkestreng / bell pull tradition. These kind of hangers are charming, they match different types of wall decor textiles from finely detailed embroidery to minimalistic, modern fabrics, and there is a large variety in forms, details and sizes of the hangers.
This narrow, about 17 cm pair is finished to look old and the color is grey and black. It is made for long and narrow bell pull embroidery. The pair below is made for much larger wall rugs while the style is the same, rustic bell pull hardware. This pair is probably from the 1970’s. The heart shape is a common detail in Scandinavian embroidery hangers.

Below is a wall decoration made by myself. I combined a traditional style embroidery hanger with modern, cotton print fabric. Since there was only one hanger availble, I added fringe band in the bottom.

The two pairs of narrow hangers below are possibly made by non professional crafters. I assume that in the 1960’s and 70’s, when klokkestreng was popular in Norway, it was a common school craft class project to make hangers, for example as gift to mothers. There were lots of DIY klokkestreng kits available in shops, with a large variation of patterns. Some patterns were more popular than others, and there are a couple of examples which I have seen numerous times at flea markets.

 If those two above are non proffesional work, the pair below, however, looks professionally made.
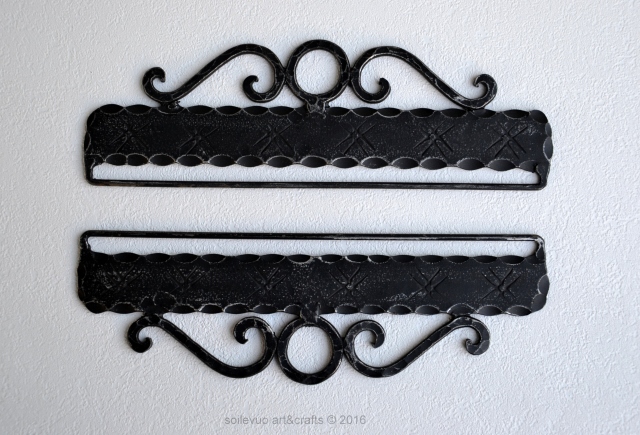
Most klokkestreng hangers are hand made of wrought iron, but there are also mass produced items, like the ones below, which are most likely cut in shape. This particular type is common, I have seen a number of similar pairs. This pair is worn in a nice way and actually looks more interesting now than in its original condition.
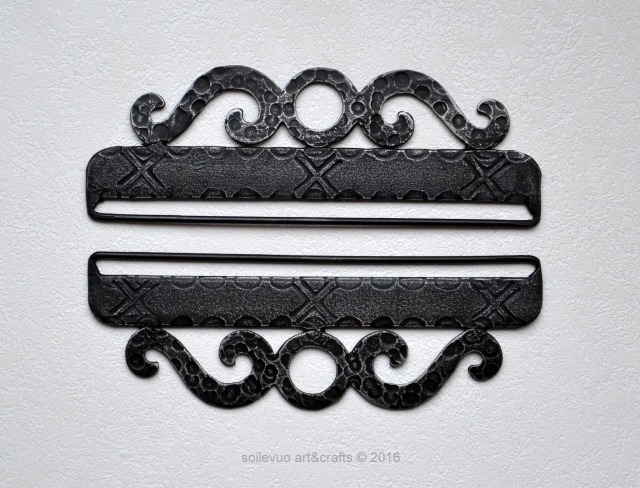
 The pair below is about 30 cm wide and probably from the 1990’s, typical heart shape in the middle.

This pair is narrow and charmingly rustic, probably one of the oldest examples I have found. I cannot tell if it is painted at all.

This pair is from Finland and represents a slightly different, contemporary style. The hangers are over 60 cm wide, made of metal wire and suitable for large and heavy knotted wall rugs which are common in Finland.

Here is an interesting and unusual bell pull hanger pair.

The hanger below is special and rare. It is flat, over 40 cm wide, and the textile is attached by sewing through the holes. The bar itself is probably cut in shape and the ornament in the middle is wrought iron.

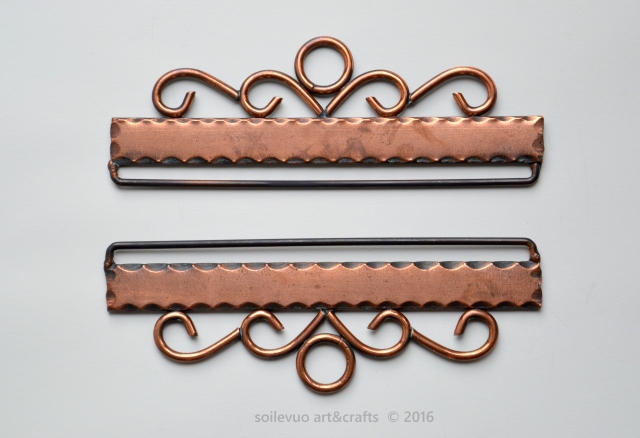
While black hangers are the most often used, there are also copper color hangers. It is hard for me to say whether the pair below is painted iron of actually copper.
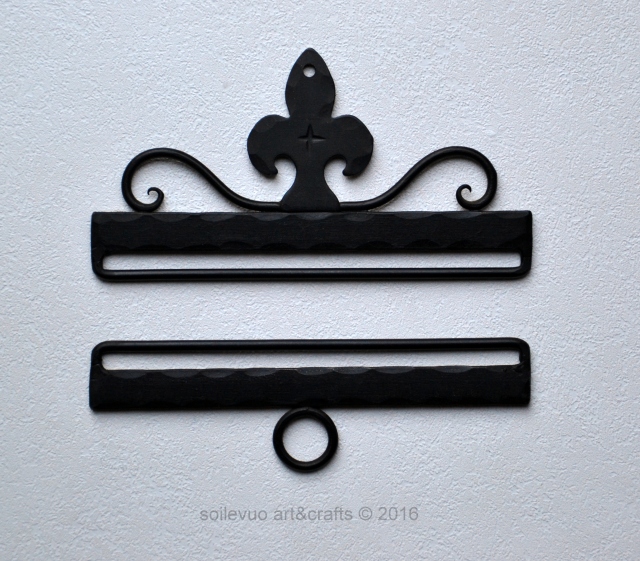
The hardware pair below presents a heraldry lily to the upper piece.
Please visit the Vintage section of my Etsy shop to see which kinds of vintage and second hand embroidery hangers I have for sale at the moment. I find them at flea markets and they usually sell quickly. Feel free to contact me if your are looking for a certain style or size. I may have one in stock or I may be able to find one for you.
My earlier blog post describes the klokkestreng tradition in Scandinavia.
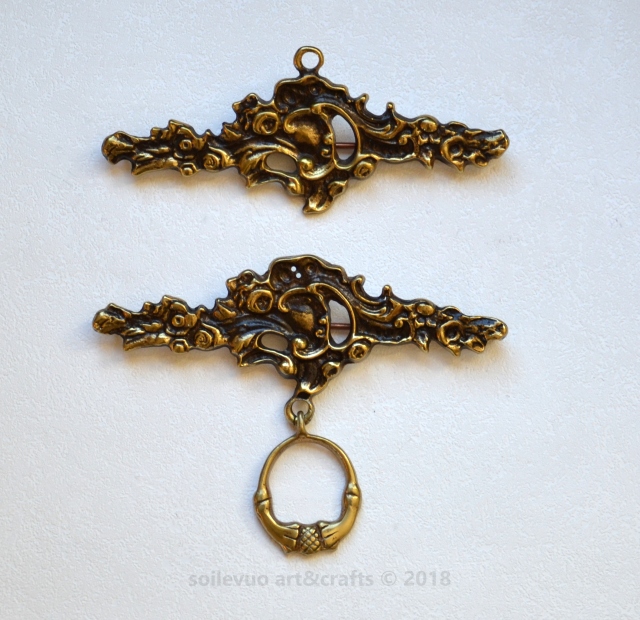
The hardware below reflects the upper class bell pull tradition. The pair is possibly made of brass and the style refers to baroque or rococco.
The pair below is absolutely gorgeous and very special with its royal embellishments, a crown to the upper piece and the Norwegian coat of arms heraldic lion to the bottom piece, together with the state name ‘Norge’. The floral motif is stylish indeed. All in all, this embroidery hardware is just fabulous with its careful finish reflecting high quality craftmanship. Perfect for crafters who value their Norwegian heritage. This pair is available in my Etsy shop.


 A unicorn helps Robert to find his seat.
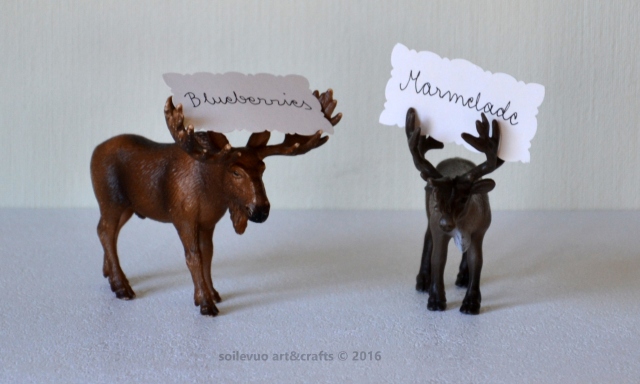 Oops, I misspelled marmalade! But if the marmalade in question is made of cloudberries, the both animals carry tags of food from their own environment.


 The starlike pattern makes the fix stretchy and the tight pants are as comfortable to use as they were before. This fixing is especially suitable in kids’ pants. You can use thread in matching or contrasting colour.
 Not bad at all!
